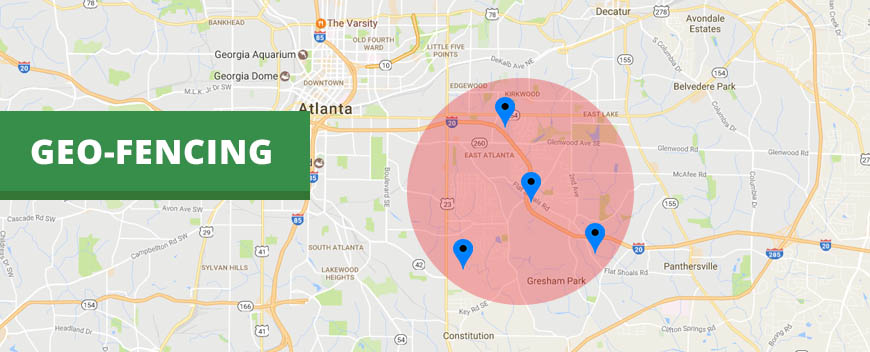
Our team is constantly working on further upgrading the system capabilities; we are excited to present our latest addition on the web application, Geo-fencing feature!
Using Geo-fencing, the Monitoring Center can be informed of whether a Checkpoint is scanned by the Guard within its
pre-defined area or not!
You can manage Geo-fencing for some checkpoint by following the steps below:
- Login to the Web Application
- Navigate to Company Check Points
- Select the target checkpoint from the list of available checkpoints, and press the “Edit” link
- Insert the “Latitude” and “Longitude” values (in order to define where the checkpoint will be physically placed)
- Insert the “Geofence Radius” value (in order to define the acceptable circle area for the Guard location when scanning the target checkpoint)
Note1: Radius is measured in meters.
Note2: Various factors should be considered when setting the radius: the Guards device location accuracy, the checkpoints’ physical location (surroundings, buildings, terrain..) etc – so you may have to tune this value accordingly! - Check the “Geofence Enabled” checkbox
- Finally, press on “Save” button

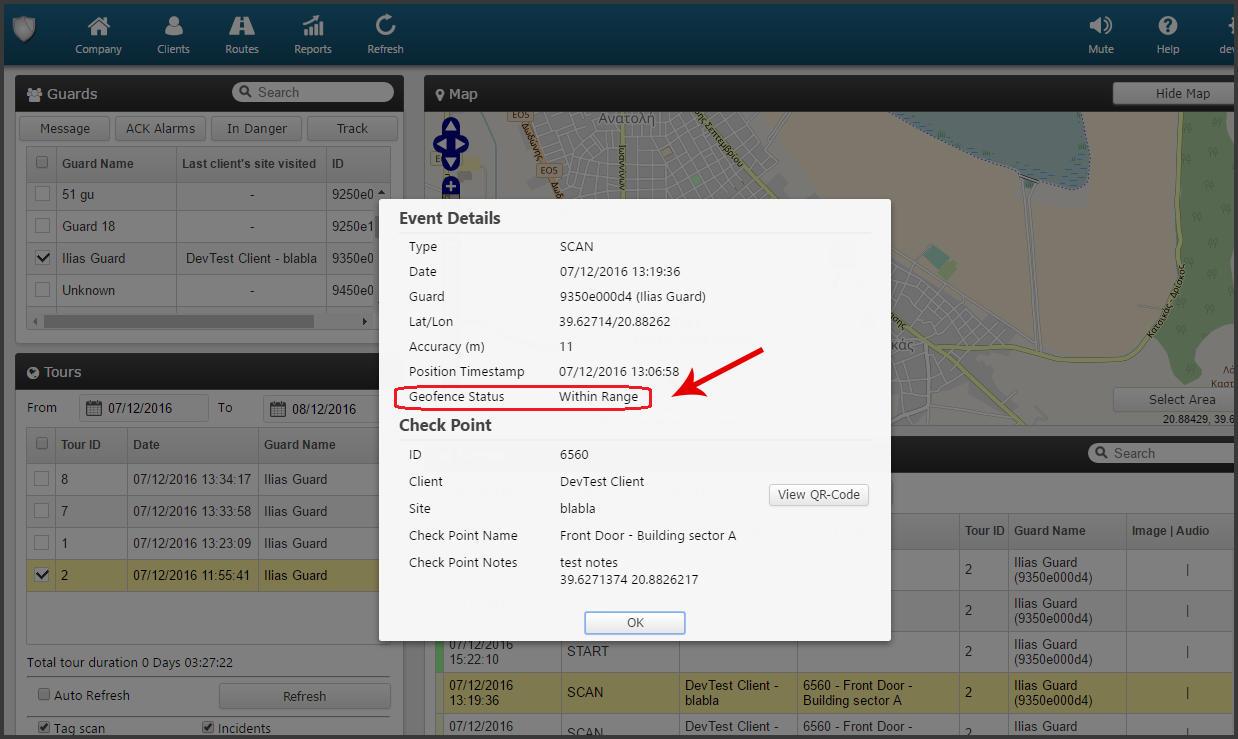
Geo-fencing on the target checkpoint has been set-up! Now, every time a Guard scans it, you can check whether the
Guard was within or out of the defined area! This can be seen on the Events Browser:
Select the target checkpoint Scan Event from the Events panel
Press on “View Details” button, to open a pop-up screen with details about the target Event
Field “Geofence Status” will display one of the following values:
– Within Range (if the Guard location was within the set radius of the checkpoint scanned)
– Out of Range (if the Guard location was out of the radius of the checkpoint scanned)
– Disabled (if Geo-fencing for the checkpoint scanned is disabled)
We hope that you will enjoy Geo-fencing!
For more details on QR-Patrol, feel free to contact our sales team.